Masonry Panel Installation

TOOLS NEEDED
Circular Saw, Jig Saw, Table Saw, Router, Screw Gun, Caulking Gun, Accent Bond™, Mortar Seal™, Tape measure, Level and Chalk
Line or Tape Measure.

MEASURE
Measure and layout and set a level line on the wall.

ORIENTATION
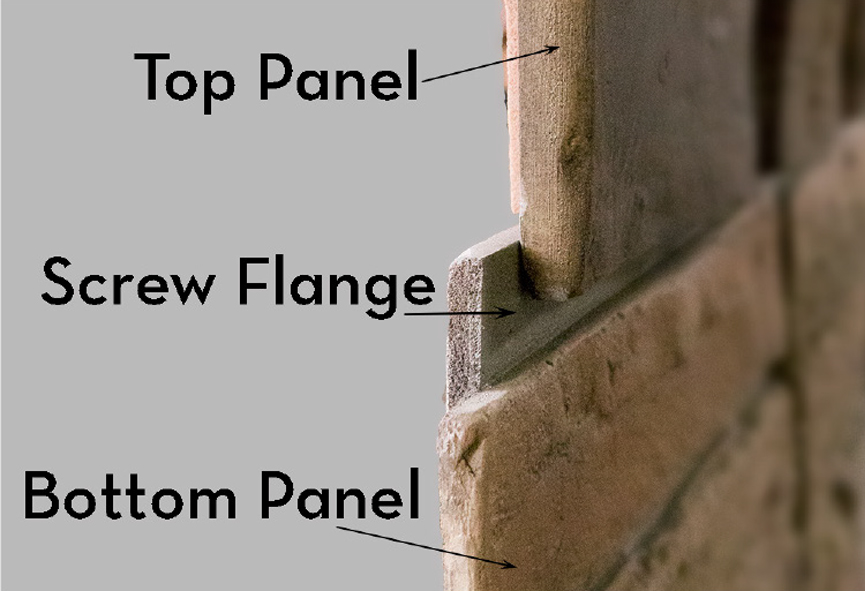
Make sure to have the panels orientated the correct way – the screw flange is along the top edge of the panel.

DRY FIT CORNERS
Measure Corner for overlap of panel and mark wall…(continued)

DRY FIT CORNERS (continued)
Measure Corner for overlap of panel and mark wall…(continued)

LAY OUT STONE CORNERS
Flip corner pieces to provide alternating stone appearance.

STAGGER PANEL & CORNER
Working left to right you may need to complete wall with a panel that has been cut to fill the void.

FILLING VOID
Cut with jig saw and route to create a ship lap edge. Use Mortar Seal ™ to fill seams and voids.

CUTTING
Measure and mark from the backside using a pencil or marker. Use a straight edge of chalk line to mark a cutting line.

CUTTING BRICK
Remove brick tabs using a circular saw. This panel will be your first panel and will fit under the corner piece. If not using a corner piece, miter panel to fit. Always cut panels from the backside.

SECURE
Make sure all surface areas are clean, dry and free of oily and loose materials. Using Accent Bond™ Adhesive, apply to the backside with a 3/8” “zigzag” beadline every 12” along the full length of the panel included all ship-laps.

BRICK CORNERS
Attach corner using adheasive and screws. The corner should overlap the panel slightly. Make sure the same size brick is seen on both ends.

SECURE
Fasten to wood substrates using deck screws, fasten to masonry substrates with concrete screws and to steel substrates using self-tapping screws. The screw head should be counter sunk about 1/8”. For drywall, use Accent Bond™ and enough screws to secure the panel until adhesive sets.

ROUTING ON STONE PANELS
Routers can be used fo form a new ship-lap edge. Use a 1/2” rabbit bit with a bearing guide.

FINISH
Cover screw heads, and seal the seams and joints with Mortar Seal™

FINISH
Smooth out the applied Mortar Seal™ with your finger and/or a small piece of wood or plastic.

FINISH
Cover screw head, seal seams and joints with Mortar Seal™.

FINISHING
Cut ripped panels to create rough stone appearance and touch up with touch-up paint.

CUTTING LEDGE
Use a table or jig saw to cut ledge to fit over corner and panel…(cont)

CUTTING LEDGE (continued)
Make sure the ledge is cut for a snug fit over the panel below it.

LEDGE ATTACHMENT
Attach ledge with adhesive and screws


